Seamless Access to Distant Linux Machine Files Made Simple
Seamless Access to Distant Linux Machine Files Made Simple
Key Takeaways
- SSHFS lets you browse remote Linux files on your local computer effortlessly.
- SSHFS securely mounts remote files as a local branch of your directory tree.
- SSHFS is ideal for file-level work, especially on headless systems like a Raspberry Pi.
SSHFS lets you browse files on remote Linux PCs as smoothly as if they were on your local computer. It’s a quick and simple way to interact with headless systems like Raspberry Pi.
What is SSHFS?
SSHFS gets its name from _S_ecure _SH_ell and _F_ile _S_ystem.
Regular SSH lets you connect to remote computers from a terminal window. Your commands are executed on the remote computer.
SSHFS is different. SSHFS mounts a remote file system on your local computer. The mounted file system appears as a normal branch of your local file system’s directory tree. You access the remote files just like any other file on your computer. You can browse through the directories and files using the cd command or a file browser.
Working with the files uses the applications on your local computer, not the remote computer. For example, editing a file uses your local editor. In fact, you’ve got access to all of your local applications, and can use them as you wish on the remote files.
SSHFS isn’t really suited to executing programs located on the remote computer. Launching an executable from the mounted file system probably won’t work well, as it will try to run on your local computer. That’s the sort of stuff best suited to a regular SSH connection. But, for working with remote files, SSHFS can’t be beat.
Installing SSHFS
To use SSHFS, SSH must already be working on the remote computer. We’ve covered how to set up SSH elsewhere. We recommend using SSH keys instead of passwords .
If you haven’t set up SSH keys, you’ll be prompted for the password of the remote computer when you mount the file system. We’ll use passwords in our examples, so you can see when the prompts appear.
If SSHFS isn’t already installed on your local computer, installing it is easy.
On Ubuntu you need to type:
`sudo apt install sshfs`

Fedora users need to type:
`sudo dnf install sshfs`

On Manjaro, you’ll use pacman:
`sudo pacman -S sshfs`

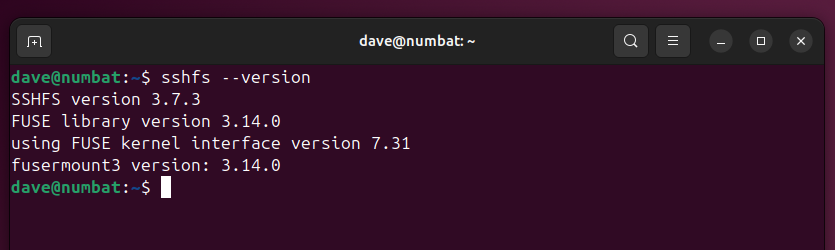
You can test that SSHFS is installed and responding, by asking for its version number.
`sshfs --version`
Making a Remote Connection
We need to create a directory to act as the mount point. It’s where the remote file system will be grafted onto your directory tree.
I’m going to be connecting to a RaspberryPi that runs network scans for me, so I’m going to call my directory netscan. You could create the mount point in your home directory, but I’m going to drop it in /media/dave/, the default location for mount points in Ubuntu. You should use your own username instead of “dave.”
On other distributions, the default location might be /run/media/ or /mnt. Ultimately, you can create your mount point anywhere you like.
`sudo mkdir /media/dave/netscan/`

Let’s take a look at our new directory.
`ls -hl /media/dave`
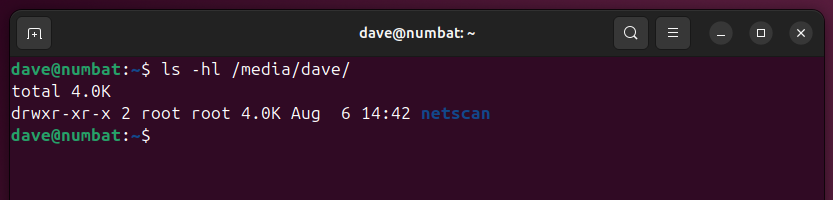
Our directory has been created, and it is owned by root. That won’t matter though, we’ll have read and write permissions on the mounted file system.
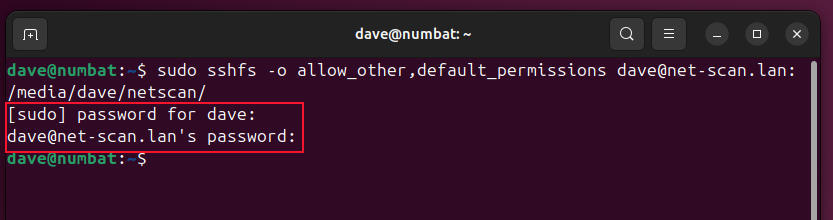
The SSHFS command is long-ish, but fairly simple when you break it down.
`sudo sshfs -o allow_other,default_permissions [email protected]: /media/dave/netscan/`
The command consists of:
- sudo: We’re using sudo because our mount point is owned by root.
- sshfs: Let’s us mount a remote file system.
- -o: The -o (mount options) option is followed by allow_other and default_permissions. These are required to let us interact with the mounted file system.
- dave@net-scan.lan : We need to provide the username of an account on the remote computer, and the network name or IP address of the remote computer. This is the same information you need to provide for a regular SSH connection.
- “:”: A trailing colon separates the network address from an optional path. The path points to the location within the remote computer that’ll used as the root of the mounted file system. By leaving the path empty, we tell SSHFS to use the home directory of the user account. But you could point this to your remote Documents directory, for example.
- /media/dave/netscan/: The mount point we want the remote file system to be mounted on. This must already exist.
We’re prompted for your password because you’ve used the sudo command. We’re then asked for the password for the account on the remote computer.
The first time you connect, you’ll probably be asked a yes/no question about whether you want to trust the remote computer and have its details added to your list of known SSH hosts. Answer yes to this.
Accessing Files in the Terminal Window
When you make a normal SSH connection, your command prompt changes to the command prompt of the machine you’ve connected to. That doesn’t happen when you mount a file system with SSHFS.
The only way you can tell something has happened is if you try to access the mounted file system by navigating into the mount point directory, and looking around.
`cd /media/dave/netscan/
ls`
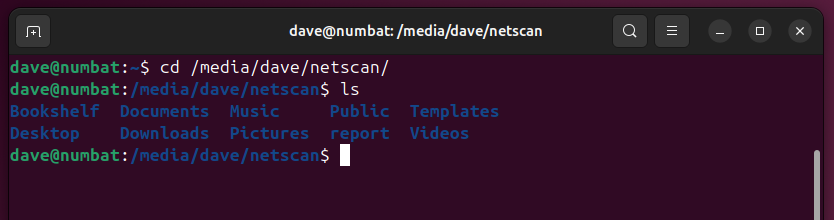
We can see the home directory of the user account on the remote computer. Any changes you make here are made on the remote drive. Any edits or deletions will affect the remote computer.
We ought to be able to create a new file.
`touch new-file.txt
ls -hl new-file.txt`
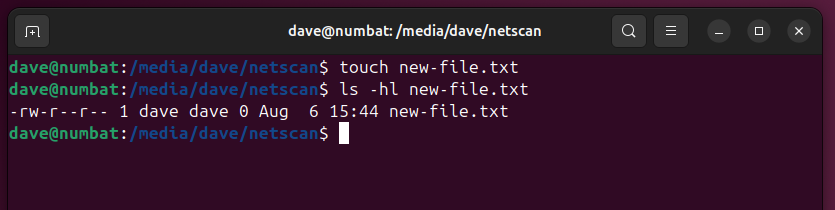
Our file is created, and we’re the owner of it. There was no need to use sudo.
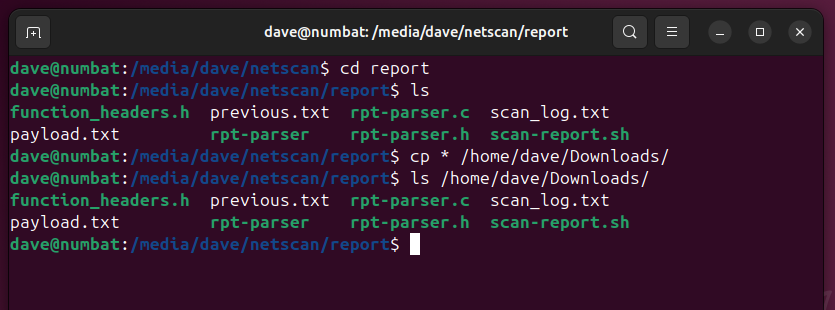
We can navigate the mounted file system using cd, and we can copy files using the cp command. This effectively transfers files between the remote device and your local computer.
`cd report
ls
cp * /home/dave/Downloads/
ls /home/dave/Downloads/`
Accessing Files in a File Browser
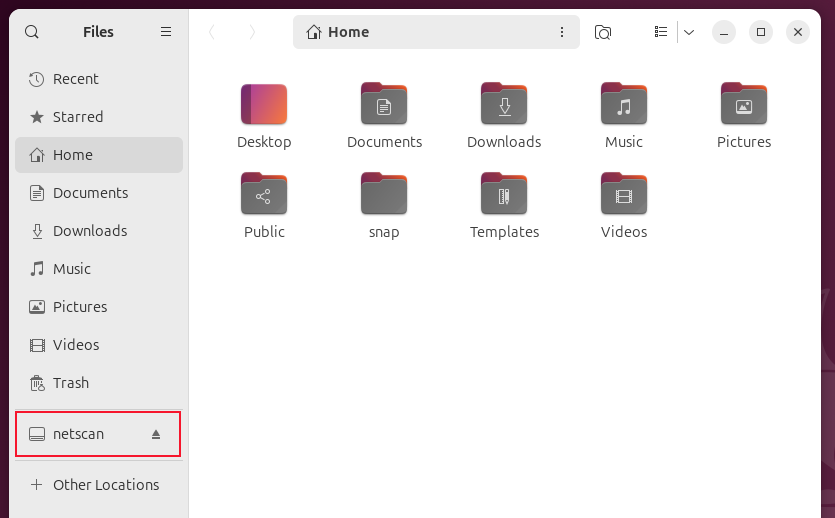
Because the mounted file system looks and behaves like any other part of your file system’s directory tree, you can use your file browser to navigate it too.
The mounted file system will show up as a mounted volume. Clicking the name of the mount point takes you straight to the remote files.
Double-clicking a file opens the application associated with that file type. These actions are carried out by applications on your local computer.
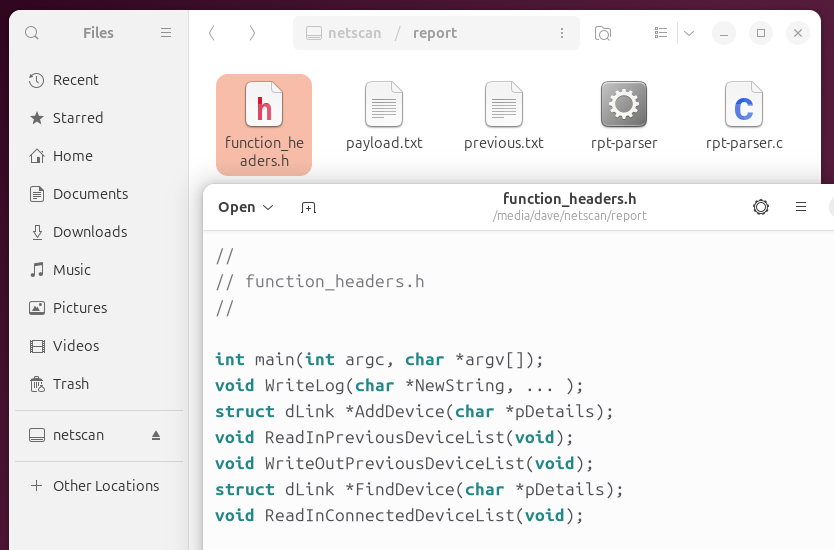
If you edit a document, for example, your default local editor is launched.
Breaking the Connection
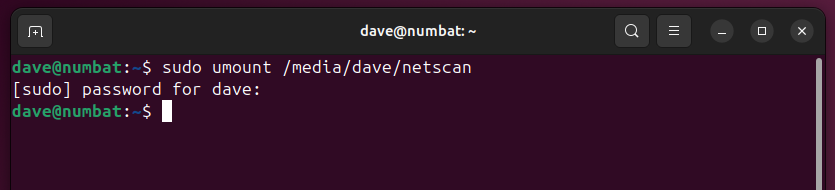
To break the connection and unmount the remote file system, we use the umount command. Note there’s no “n” before the “m” in the umount command.
`sudo umount /media/dave/netscan`
The Far Away, Up Close
Having easy and direct access to files on remote computers simplifies maintenance and other tasks.
Being able to use your local applications on the remote files lets you harness the power of your full-size computer when working with devices like the RaspberryPi. For example, you can run gcc on your local machine, to compile source files on the remote machine.
Also read:
- [New] 2024 Approved Top 10 Game-Changing Apps for Live Sports & Premier League Watching
- [Updated] Top Strategies for Zoom Use with a Chrome OS Device for 2024
- [Updated] Unleashing the Full Power of Apple Podcasts Downloads
- 2024 Approved Premium Video Capturing for Digital Screens
- 2024 Approved Step-by-Step Guide to Mastering KineMaster + 10 Best Video Editors Online
- 2024 Approved The Backchannel Bridge Engaging with Your Audience
- 2024 Approved Ultimate Screen Selections for Immersive Xbox Series X Gaming
- 3 Best Tools to Hard Reset Samsung Galaxy F34 5G | Dr.fone
- 7 Esplorati
- AI-Driven Meal Planning: Creating Healthy Menus Using ChatGPT
- How to Fix It Xiaomi Redmi A2 Wont Turn On | Dr.fone
- In 2024, How to Remove Apple ID from iPhone SE (2020) without Password?
- In 2024, Off-Facebook Insights What They Reveal & When to Turn Them Off
- In 2024, Prank Your Friends! Easy Ways to Fake and Share Google Maps Location On Samsung Galaxy M14 4G | Dr.fone
- In 2024, The Future of Virtual Showrooms
- In 2024, The Therapeutic Effects of ASMR for Everyone
- In 2024, Ultimate Set of Free Photo Screen Shifts
- SRT Fundamentals Explored in Detail and Clarity for 2024
- Unraveling the New Dimensions of VegasPro '19 for 2024
- Title: Seamless Access to Distant Linux Machine Files Made Simple
- Author: Daniel
- Created at : 2025-03-01 21:15:56
- Updated at : 2025-03-06 00:00:29
- Link: https://some-skills.techidaily.com/seamless-access-to-distant-linux-machine-files-made-simple/
- License: This work is licensed under CC BY-NC-SA 4.0.