Step-by-Step Guide: Getting Your Google Maps Back on Track

Step-by-Step Guide: Getting Your Google Maps Back on Track
Quick Links
- Perform Some Preliminary Checks
- Ensure the Issue Isn’t on the Backend
- Ensure the Location Services Are Turned On
- Ensure the Date and Time Is Correctly Configured
- Turn On the Background Data
- Check for Available Updates
- Clear the Google Maps App Cache
- Ensure the Problem Isn’t Browser-Specific
Key Takeaways
- Go to the Google Maps Status Dashboard to check for any service outages. If services are down, the issue likely lies with the backend. If all services are operational, the problem could be on your end.
- Ensure that Location Services are enabled on your device.
- Check that the date and time settings are correct and that the Google Maps app is updated. If you’re experiencing issues in a web browser, try switching browsers to rule out browser-specific problems.
Google Maps is often a reliable travel companion, yet occasional glitches can leave us stranded. Issues like server outages, lack of internet connectivity, incorrect time and date settings, or restricted background data usage can contribute to these issues. Here are some troubleshooting steps you can take to resolve the problem.
Perform Some Preliminary Checks
Begin the troubleshooting process with some basic checks. First, reboot your device to rule out any temporary disruptions. Then, ensure your device is connected to the internet, and if using mobile data, confirm the data package hasn’t expired. Besides that, if you’re connected to the Internet via a VPN, turn it off temporarily.
If the above basic checks do not solve the issue, you should try the remaining fixes listed below.
Ensure the Issue Isn’t on the Backend
If the basic checks don’t resolve the issue, ensure it’s not stemming from Google’s backend servers. Go to the Google Maps Status Dashboard and check for any service disruptions or outages.
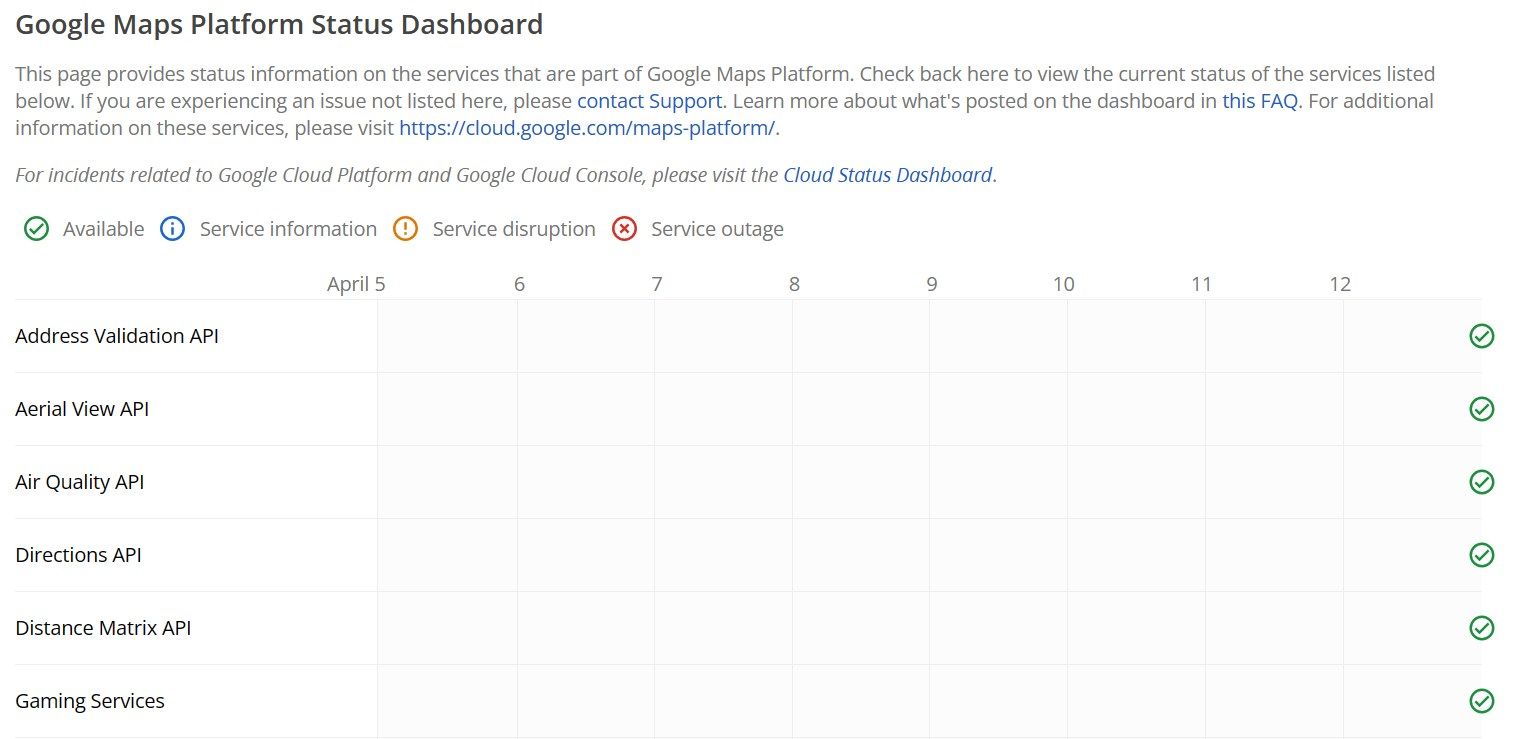
If you see a yellow exclamation mark or a red cross in a circle sign indicating service disruption or outages, the issue is with Google’s servers. In this case, you’ll need to wait for Google to fix the backend problem.
On the other hand, if you see a green check mark next to each service, it indicates there’s likely no backend issue, and the problem may be on your end. In this situation, you’ll need to try troubleshooting your device.
Ensure the Location Services Are Turned On
If there’s no backend issue on Google’s end, you should check whether your device’s location services are enabled or not. On an iPhone, open Settings, go to Privacy and Security > Location Services and turn on the toggle.
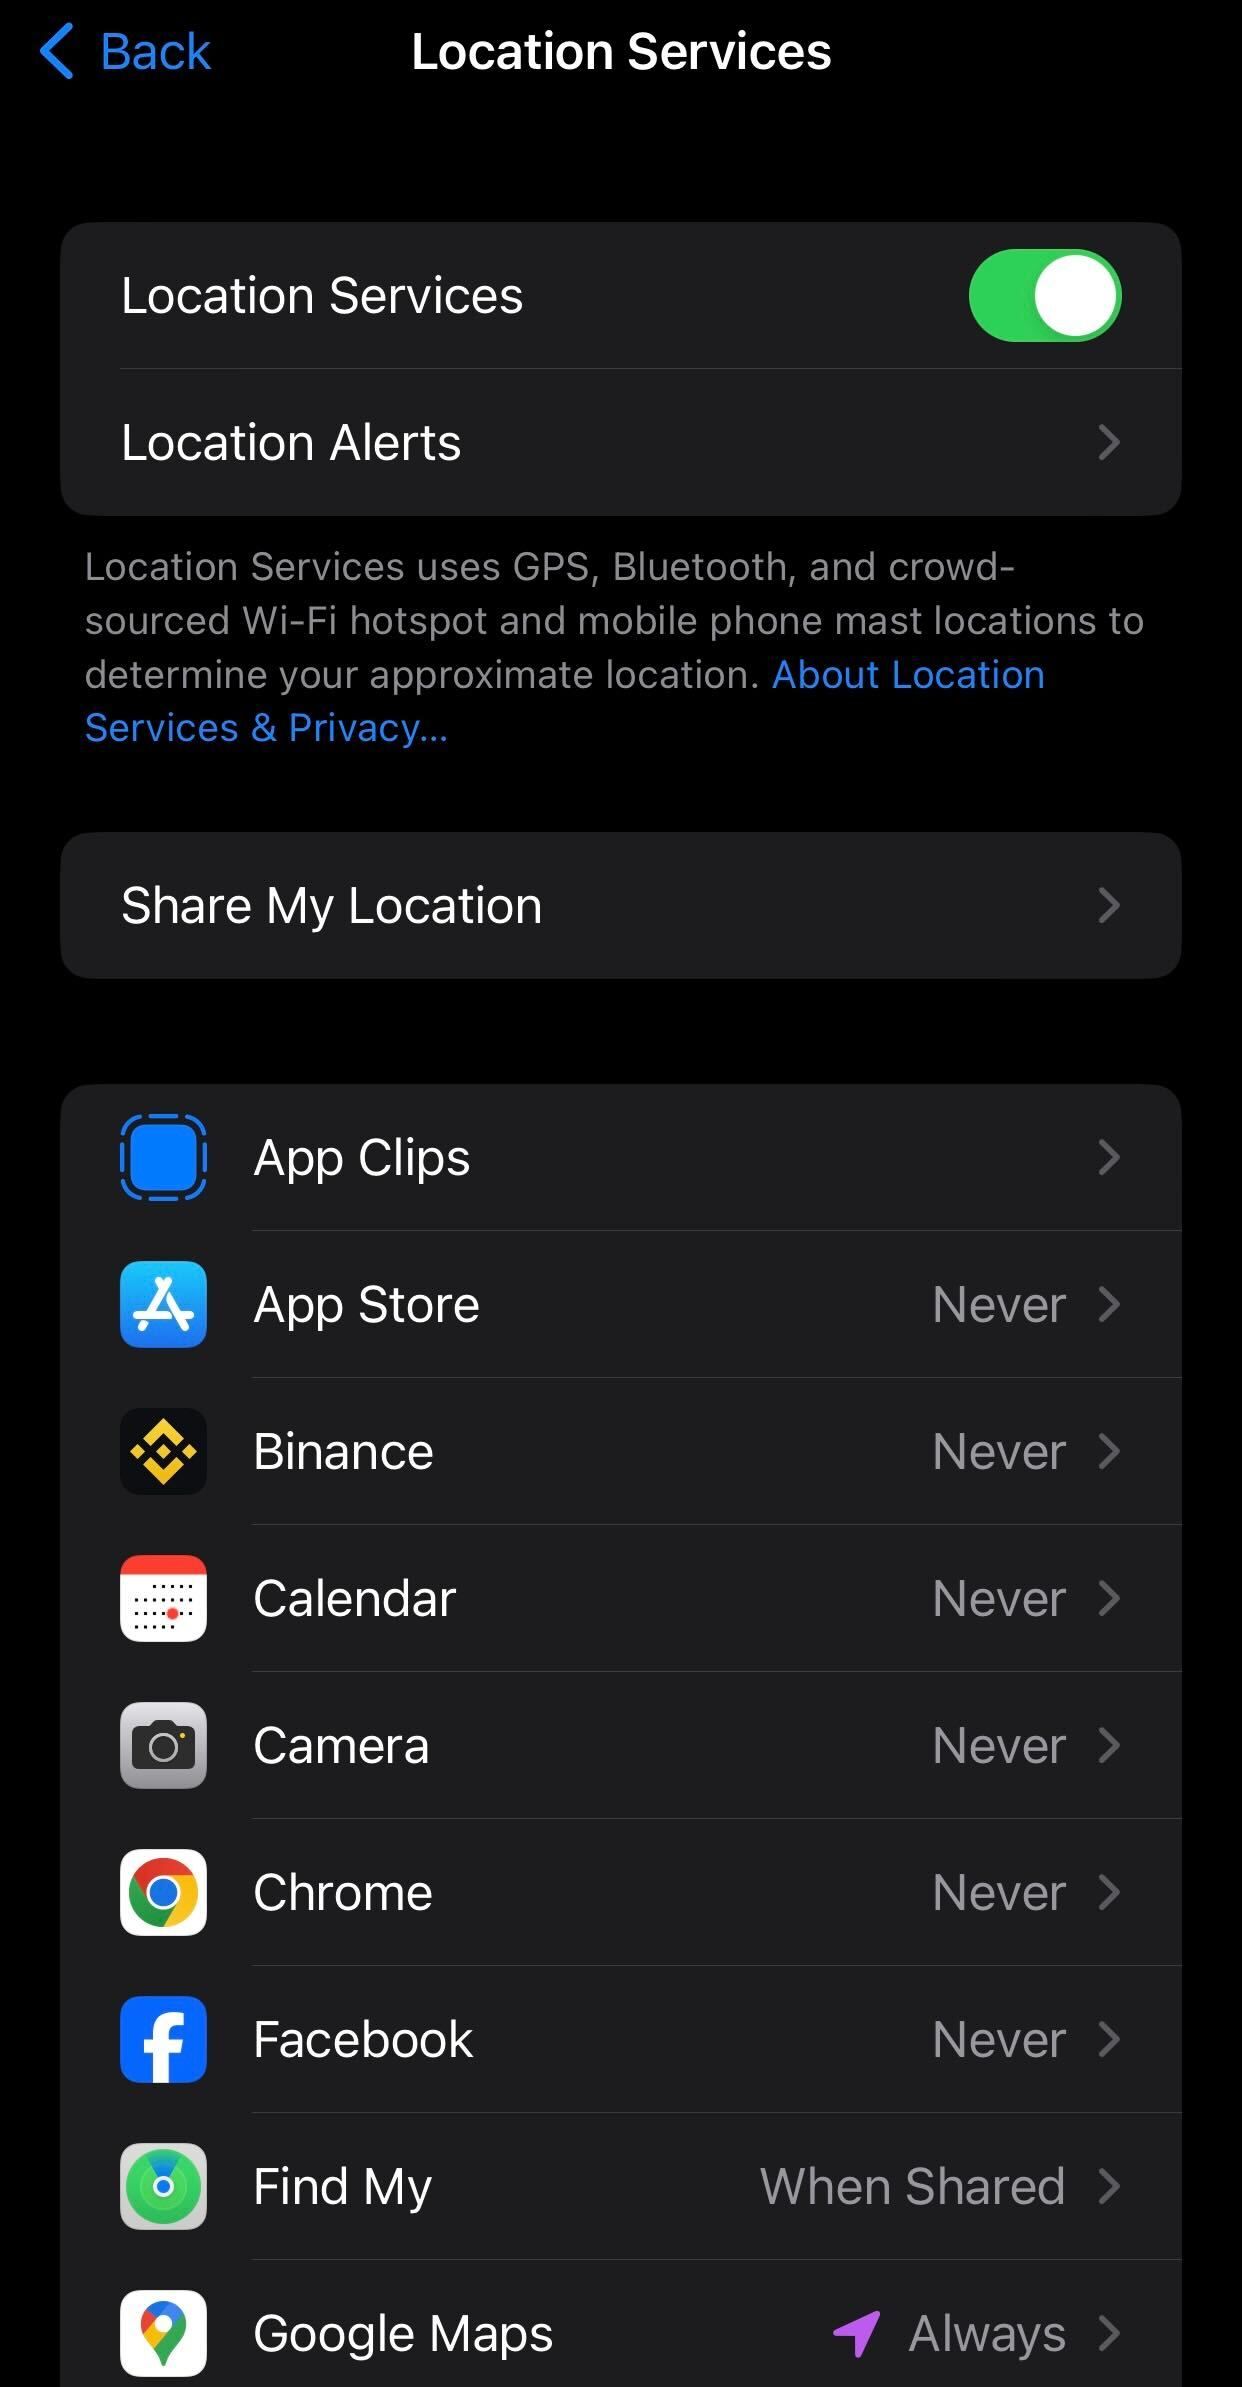
Locate Google Maps among the listed apps, and ensure that location access is set to “While Using the App” or “Always.” Also, toggle on “Precise Location.”
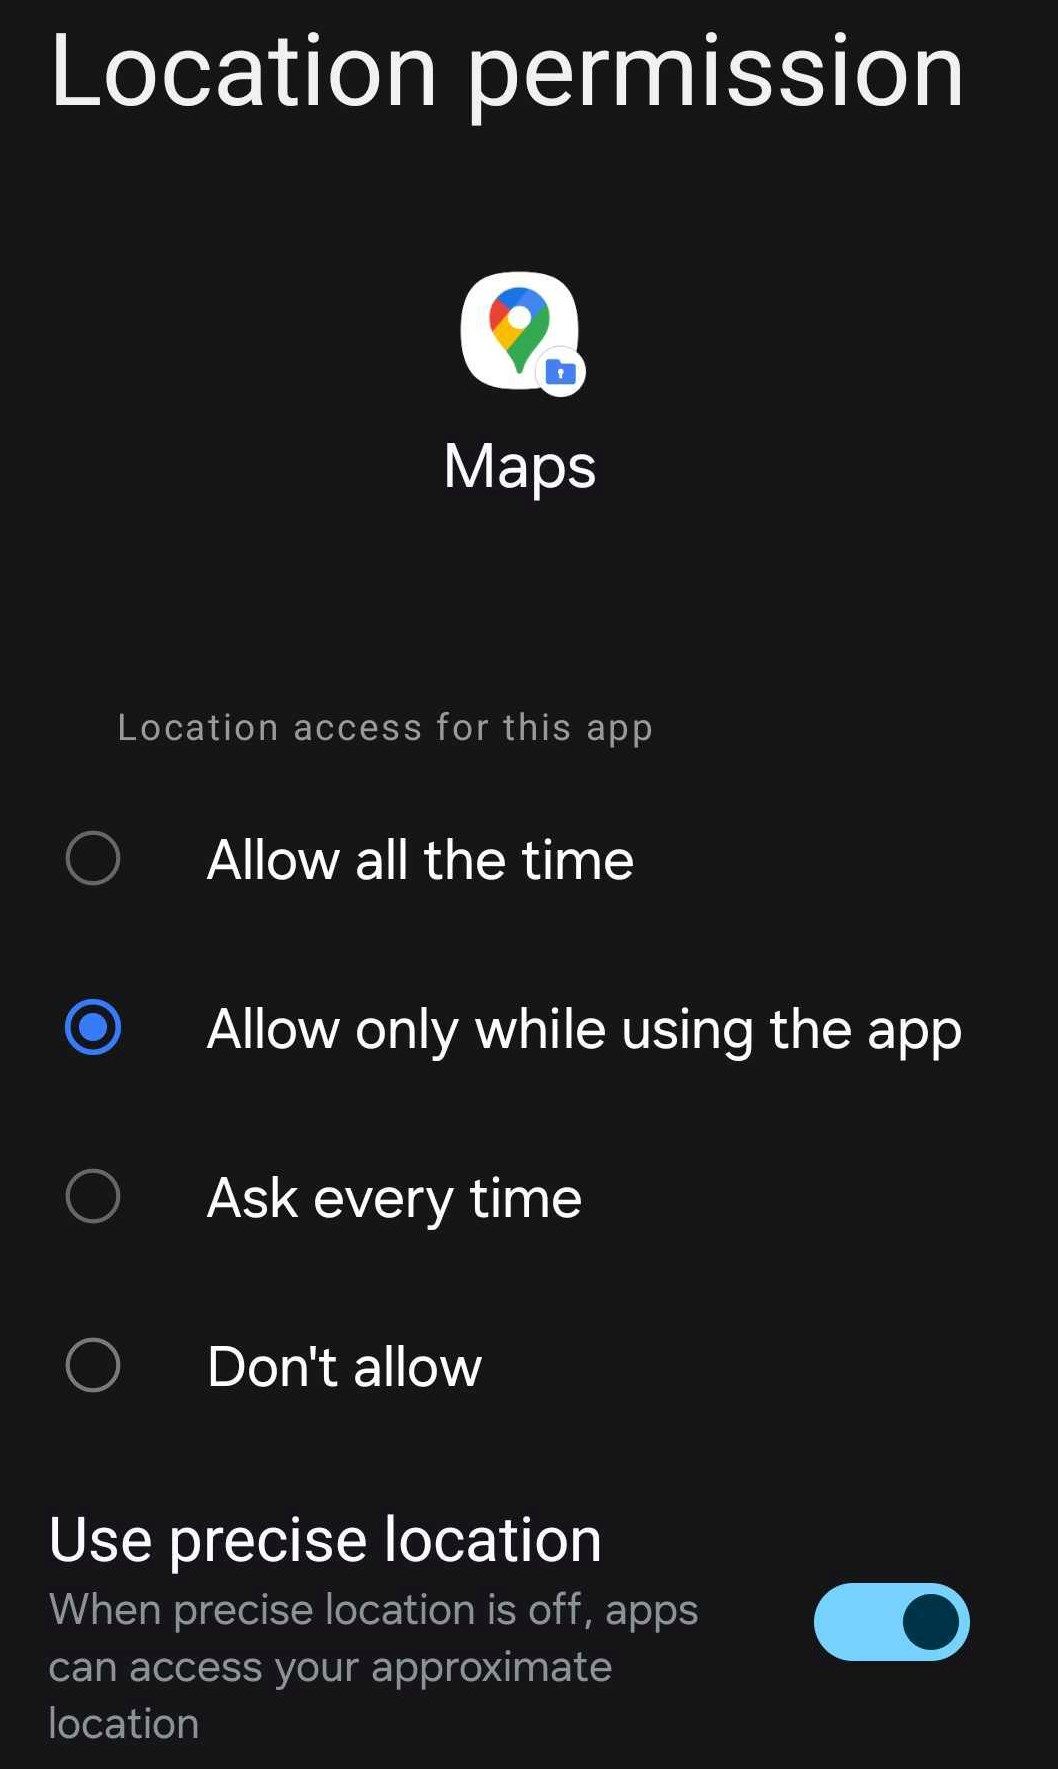
If you’re using an Android device, open the Settings app and navigate to “Location.” Turn on the toggle, then open “App Permissions.”

Find Google Maps among the apps and review its permission settings. Ensure the circle next to “Allow Only While Using the App” or “Ask Every Time” is selected.
Ensure the Date and Time Is Correctly Configured
Incorrect date and time settings can disrupt communication between your device and Google servers, and cause issues with Google Maps services. To prevent this, ensure that the date and time are correctly configured .
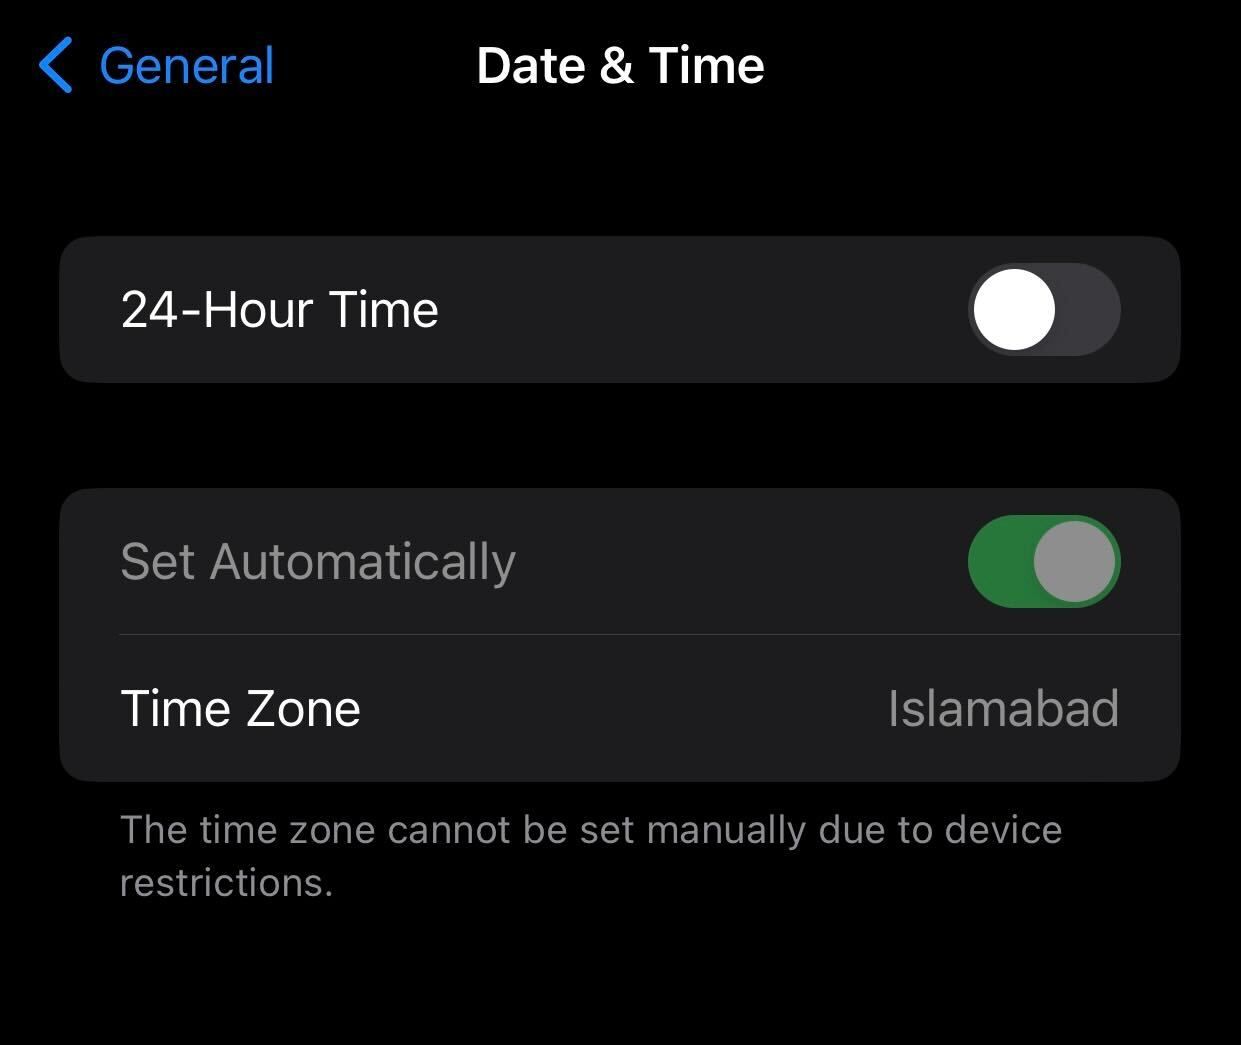
Open the Settings app on your iPhone, then navigate to General > Date and Time. Here, toggle “Set Automatically” to allow your iPhone to adjust the date and time based on your phone’s location.
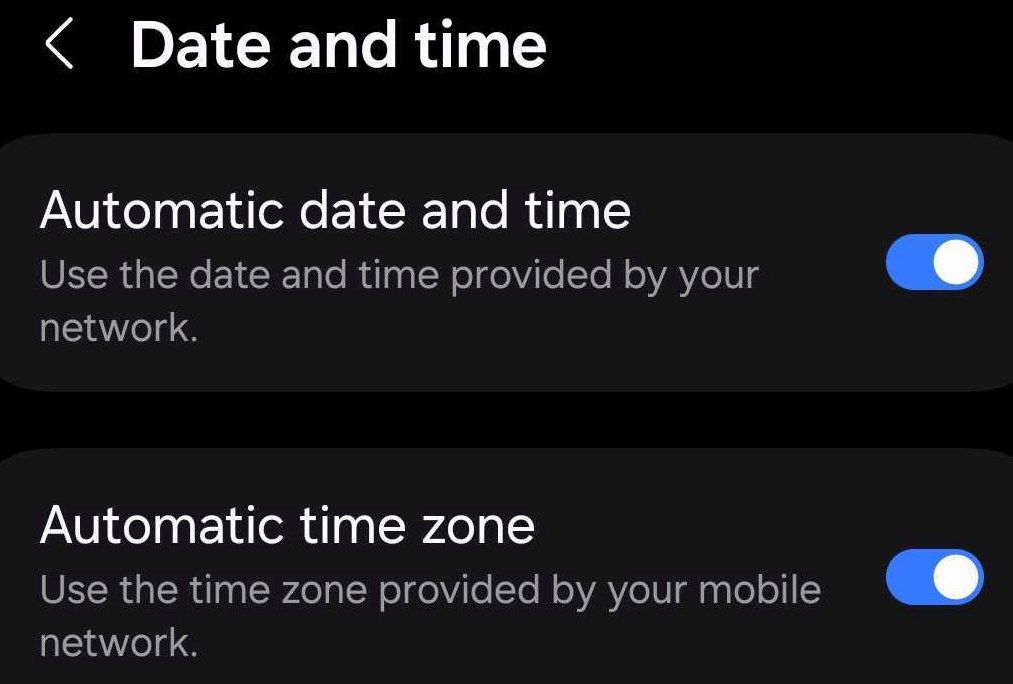
On Android, open the Settings app and go to General Management > Date and Time. Toggle on both “Automatic Date and Time” and “Automatic Time Zone.”
Turn On the Background Data
Background data usage enables the Google Maps app to maintain connectivity to the Google server and update your location data, even when the app is not actively in use. This ensures the app remains prepared for your next session. If you encounter issues when opening the app, ensure the feature is enabled on your device.
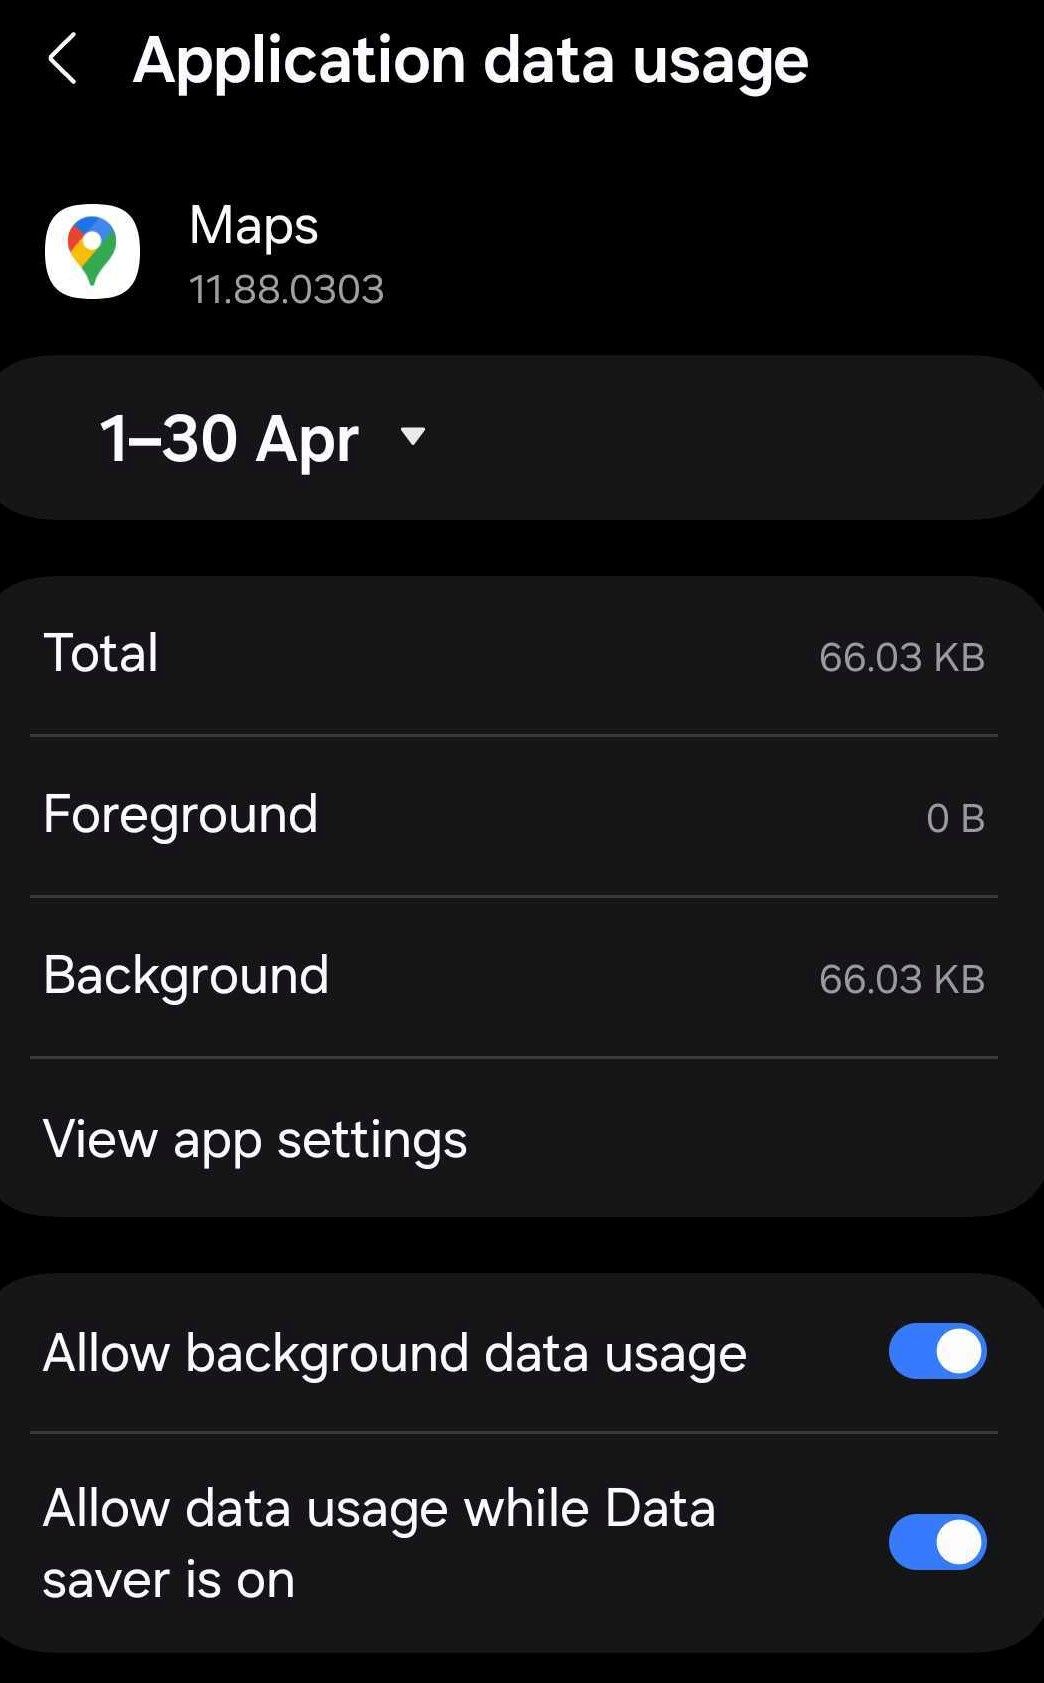
On Android devices, this feature is called Background Data. To enable it, navigate to the Settings app, then go to Connections > Data Usage > Mobile Data Usage. Locate the Google Maps app in the list, open its settings, and toggle on the options for “Allow Background Data Usage” and “Allow Data Usage While Data Saver Is On.”
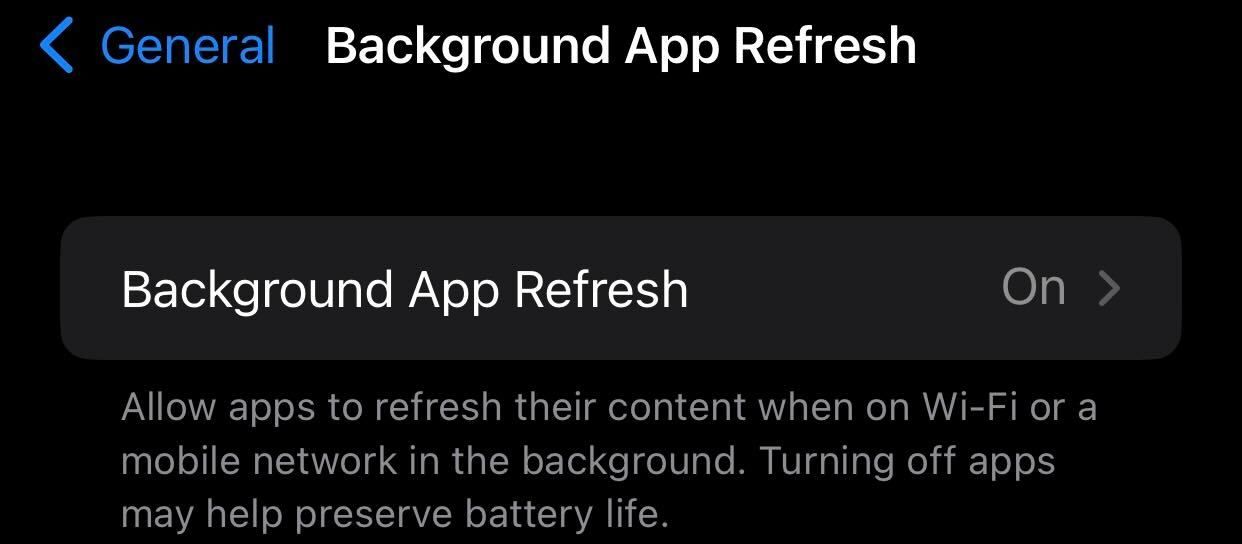
On iPhone, the feature is known as Background App Refresh. To ensure the feature isn’t disabled on your phone , go to Settings > General > Background App Refresh. Make sure that “Background App Refresh” is turned on. Also, ensure that the toggle next to the Maps app is turned on.
Check for Available Updates
An outdated Google Maps app can cause unforeseen issues. So, check for any available updates in your device’s app store and install them.
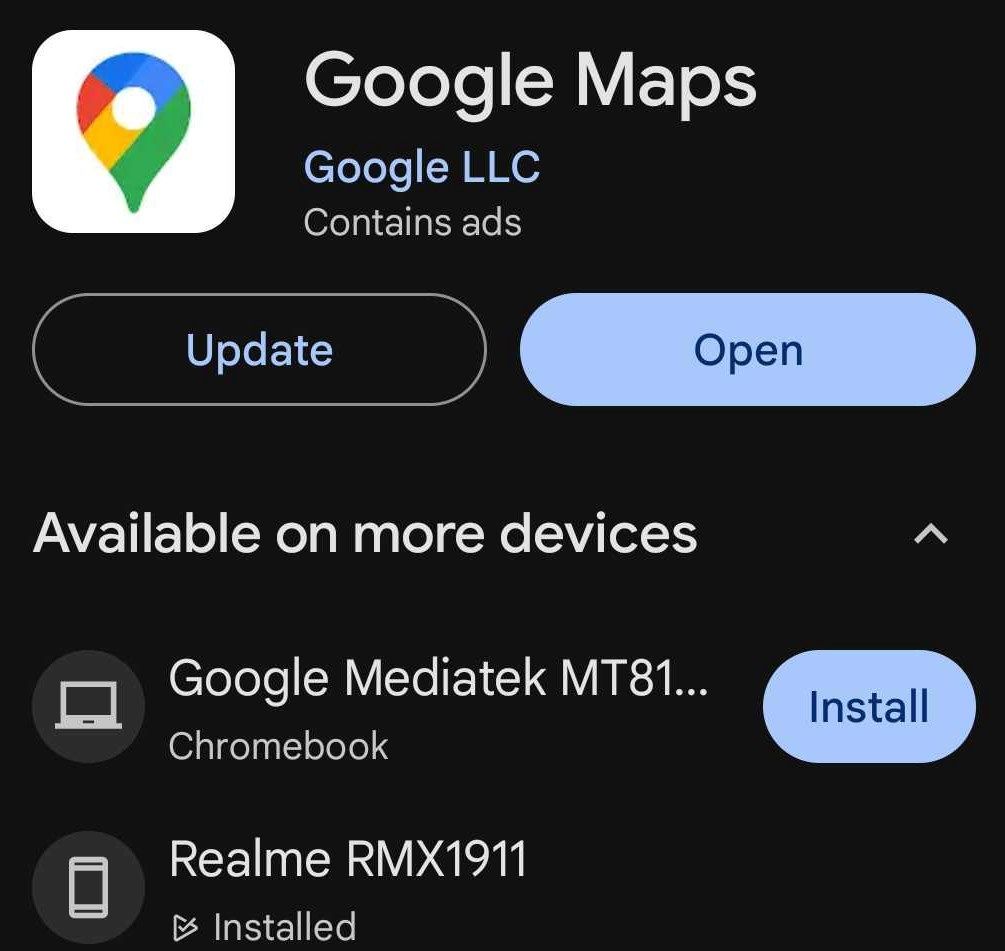
On your iPhone, open the App Store (or Play Store on Android) and search for the Google Maps app. If you see an “Update” option next to the app name, tap it to start the update process. Allow the update to complete. If you don’t see the update option, it indicates that the app is already up-to-date.
Clear the Google Maps App Cache
Problems with cached data can also cause disruptions when using the app. To ensure that’s not the case, you should clear the cache of the Google Maps app . Open the Settings app on your Android phone. Then, navigate to Apps > Maps > Storage, and tap “Clear Cache” in the bottom-right corner.

To clear the cache on an iPhone, you need to offload the app while retaining the app data and then reinstall it. Navigate to Settings > General > iPhone Storage > Maps, and then tap on “Offload App.”
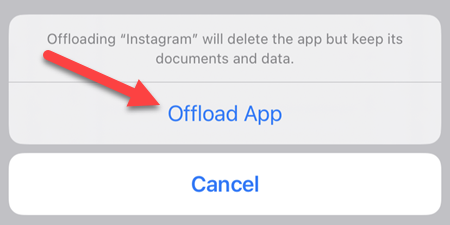
After offloading the app, tap “Reinstall App” to reinstall it, restoring all the previously stored app data on your iPhone.
Ensure the Problem Isn’t Browser-Specific
If Google Maps isn’t working on your computer’s web browser, ensure that the problem isn’t specific to a single browser by trying a different one. If Google Maps works on other browsers but not on your primary one, the problem is likely browser-specific. In this case, you should focus on troubleshooting the issue with your primary browser.
Use Google Maps in Incognito or Private mode, clear the browser cache and cookies , disable or permanently delete any interfering extensions (especially VPN extensions), and ensure your browser is up-to-date. If these steps don’t fix the problem, consider resetting or reinstalling the browser.
Not being able to use Google Maps can feel like being stranded without a guide. Hopefully, the above fixes will help you resolve any issues you encounter with Google Maps. If these solutions do not resolve the problem and the issue persists, uninstall the Google Maps app and reinstall it from scratch.
Also read:
- [New] Syncing Your Favorite Tunes Moving Playlists Across Platforms
- [Updated] Guide to Using Eraser Tool In Photoshop
- Affordable Caixun 75
- Best Tools for Merging Multiple MP4s Into One Seamless Video Experience (TOP Picks)
- Crowned Titles Top Sierra DVD Creation Software
- Effortless Updates: Get the Latest Surface Book Driver Software
- How Does Apple Safeguard Your Cloud-Based AI Information? Understanding Its Impact on Privacy | ZDNet
- In 2024, The Creative Utilization of B-Footage in Media
- In 2024, The Key Ingredients for Successful Instagram Unboxing Reels
- In 2024, Why Your WhatsApp Live Location is Not Updating and How to Fix on your Infinix Smart 8 | Dr.fone
- Strategies for Closing Down a Forgotten LinkedIn Profile for 2024
- Title: Step-by-Step Guide: Getting Your Google Maps Back on Track
- Author: Daniel
- Created at : 2025-03-03 00:10:17
- Updated at : 2025-03-05 23:05:03
- Link: https://some-skills.techidaily.com/step-by-step-guide-getting-your-google-maps-back-on-track/
- License: This work is licensed under CC BY-NC-SA 4.0.